

How To Repair Hydraulic Door Closer
Introduction
Replacing a hydraulic door closer is fairly uncomplicated with a footling help, and adjusting it is fifty-fifty easier. This guide will help you identify if yous need to replace your hydraulic door closer or if it only needs to exist adapted. Replacing your hydraulic door closer is important because over time hydraulic door closers will loose their functionality and cause your door to slam. A slamming door can cause unnecessary damage to your door. The whole procedure is simple and easy when you have a guide to help you lot. All you lot need to know is how to use a screwdriver and an Allen wrench to adjust, or replace, the hydraulic door closer. There are two chief prophylactic risks. The first 1 is pinching yourself on the door while you are installing the hydraulic door closer. The 2nd i is a falling risk if you use a ladder to install the hydraulic door closer.
-
-
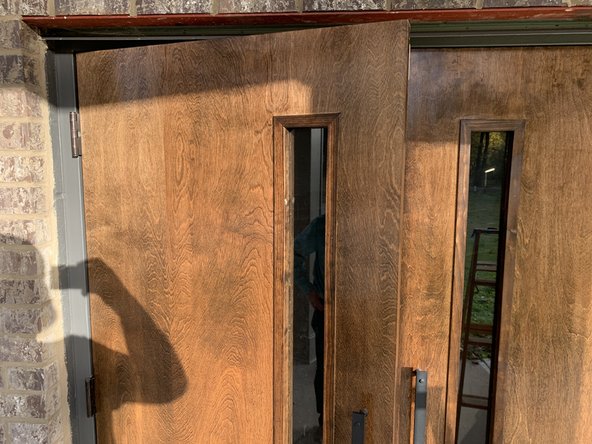
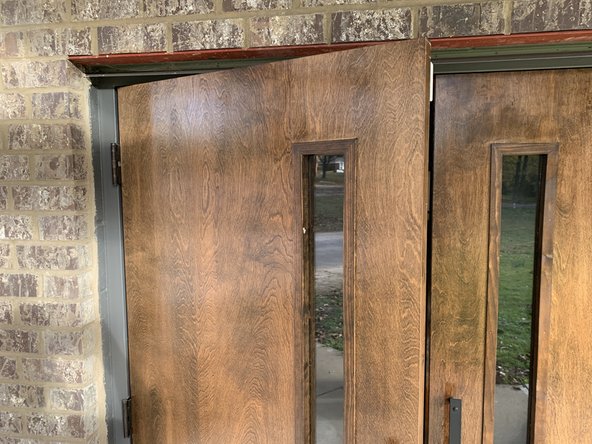
Place if the hydraulic door closer needs to be adjusted or replaced.
-
-
-
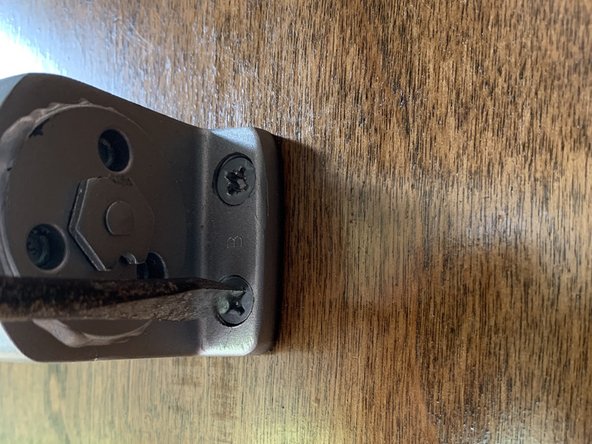
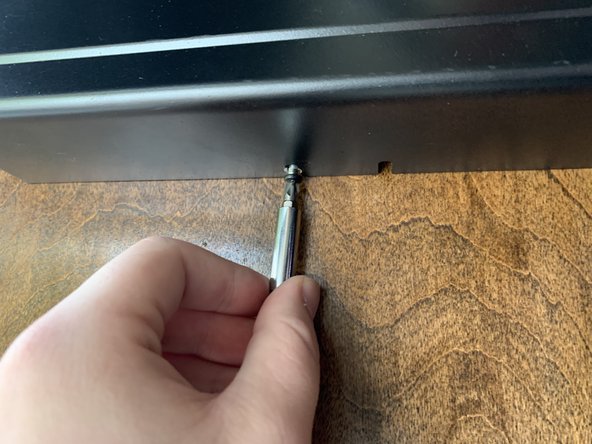
Remove the 12.7mm screws on the bottom and top of the hydraulic door closer cover and pull the cover off the hydraulic door closer.
-
-
-
Place the adjustment spiral and beginning with 1/8th turns using an Allen wrench, or a small flathead screwdriver if you practice not have an Allen wrench. Turn the screw clockwise to slow down the door and counterclockwise to speed up the door.
-
-
-
Observe if the door closes at the speed you desire, bank check information technology 10 more times by allowing the door to close by itself.
-
-
-
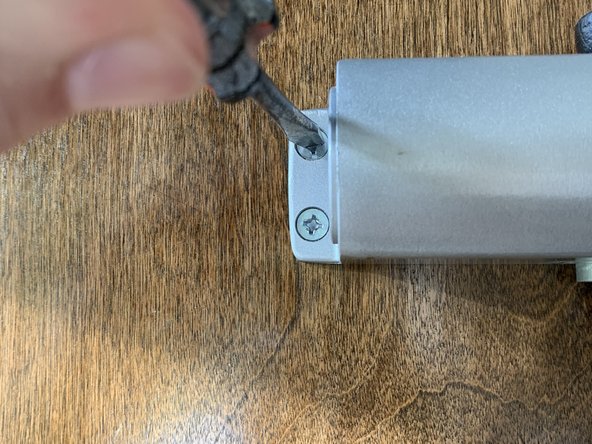
Start past removing the old hydraulic door closer. Remove the 25.4mm screws screwed into the door frame and the door.
-
-
-
After removing the onetime hydraulic door closer, spike the new hydraulic door closer torso to the top of the door. Use the holes left from the old hydraulic door closer to line upward the trunk and to screw the 25.4mm screws without damaging the door.
-
-
-
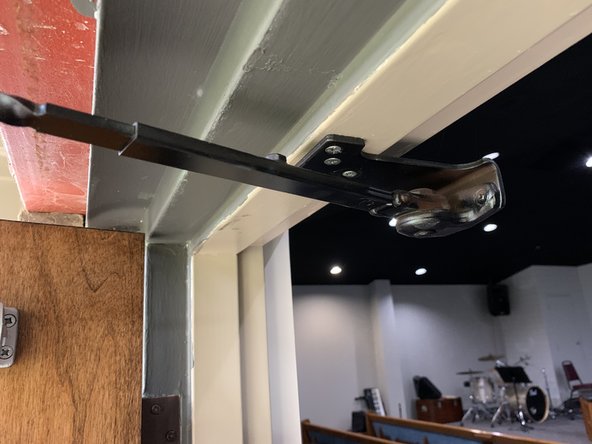
Afterwards mounting the hydraulic door closer trunk to the peak of the door, attach the stop of the hydraulic door closer arm to the top of the door frame. Use the holes left from the terminate of the quondam hydraulic door arm to properly line up the arm and to screw the 25.4mm screws without damaging the door frame.
-
-
-
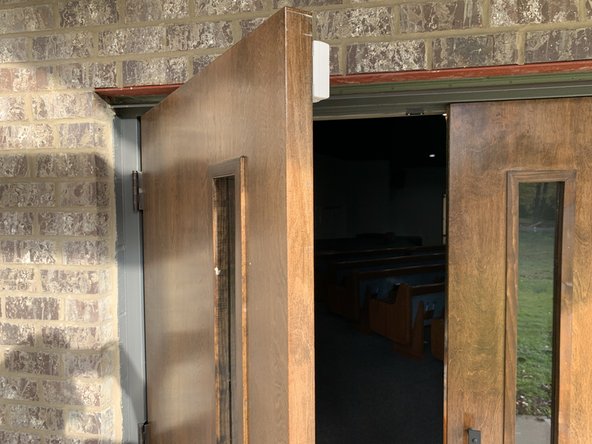
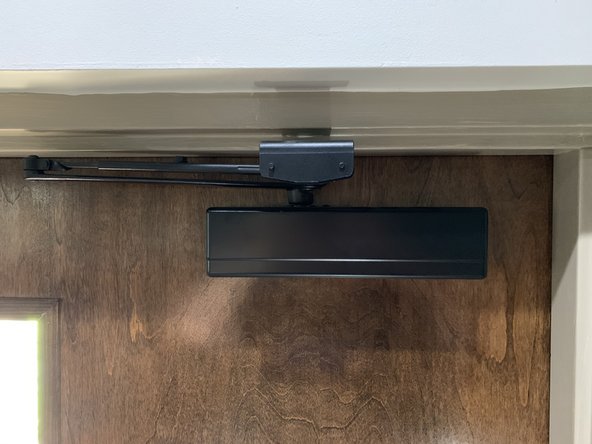
Notice the door closing by itself to brand sure the hydraulic door closer is working properly.
-
-
-
Using an Allen wrench, adjust the speed of the door closer to the desired speed by turning the adjustment screw.
-
-
-
Observe the changes you made to make certain the door closes at the desired speed. If the door closes at the desired speed, and so cheque ten times to exist sure.
-
-
-
Once you have finished replacing the hydraulic door closer, put the encompass back over information technology.
-
Next, screw both the pinnacle and bottom 12.7mm screws on the cover back in place.
-


Embed this guide
Choose a size and copy the code below to embed this guide equally a small-scale widget on your site / forum.
Preview

How To Repair Hydraulic Door Closer,
Source: https://www.ifixit.com/Guide/Hydraulic+Door+Closer+Replacement/138611
Posted by: wattsgase1970.blogspot.com
0 Response to "How To Repair Hydraulic Door Closer"
Post a Comment